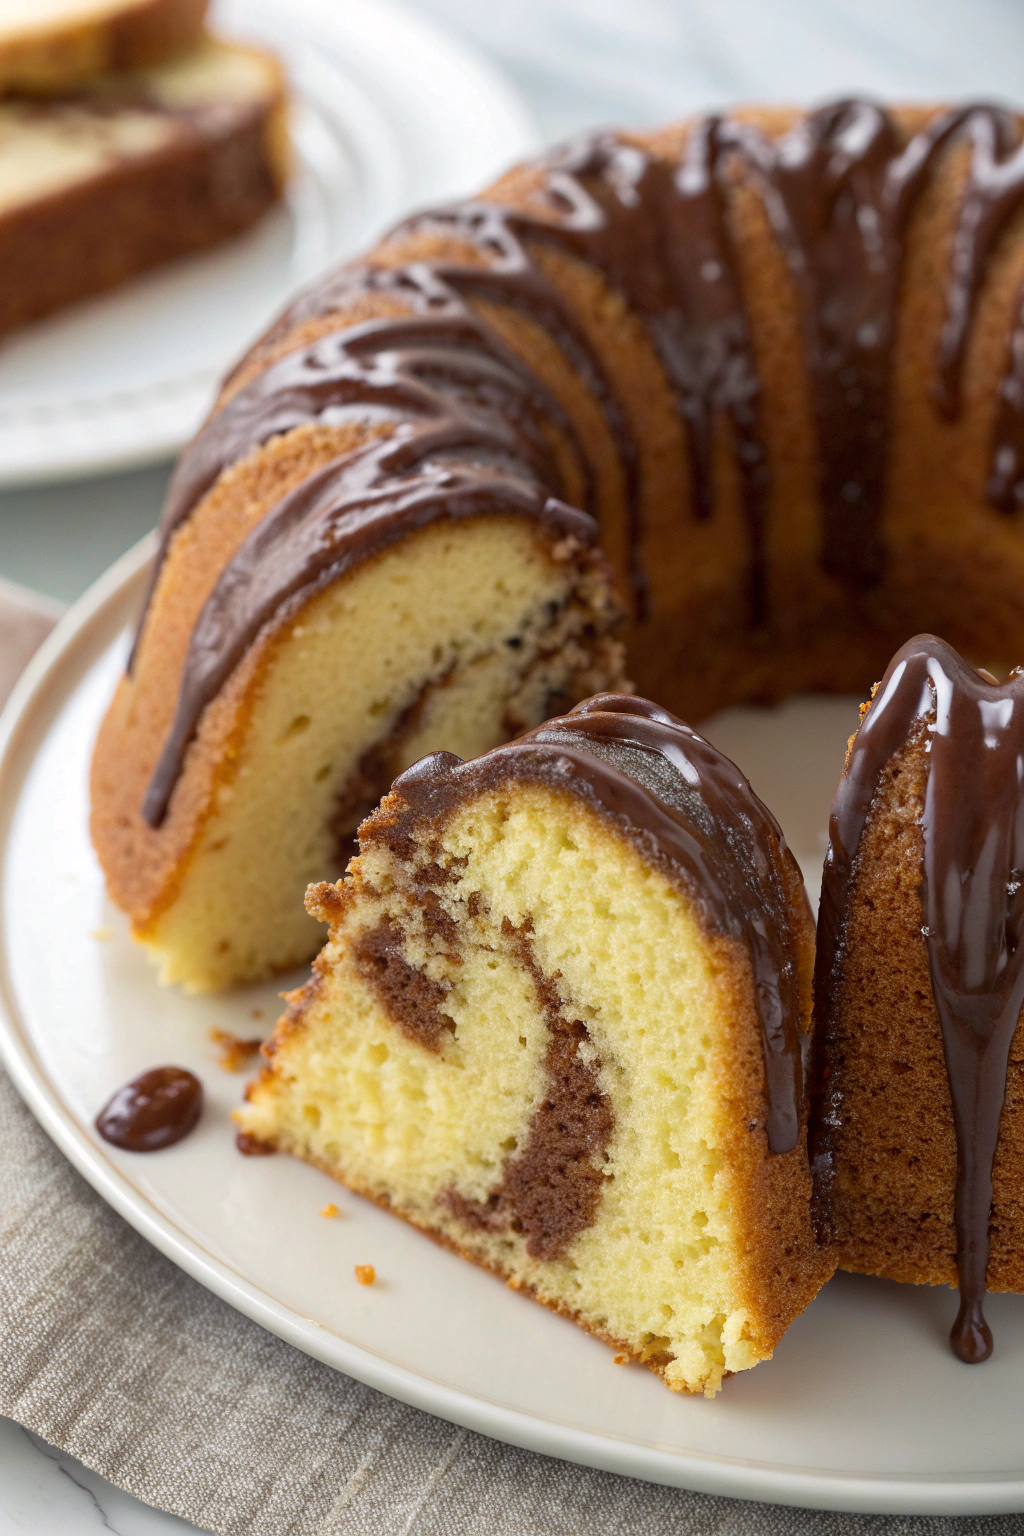
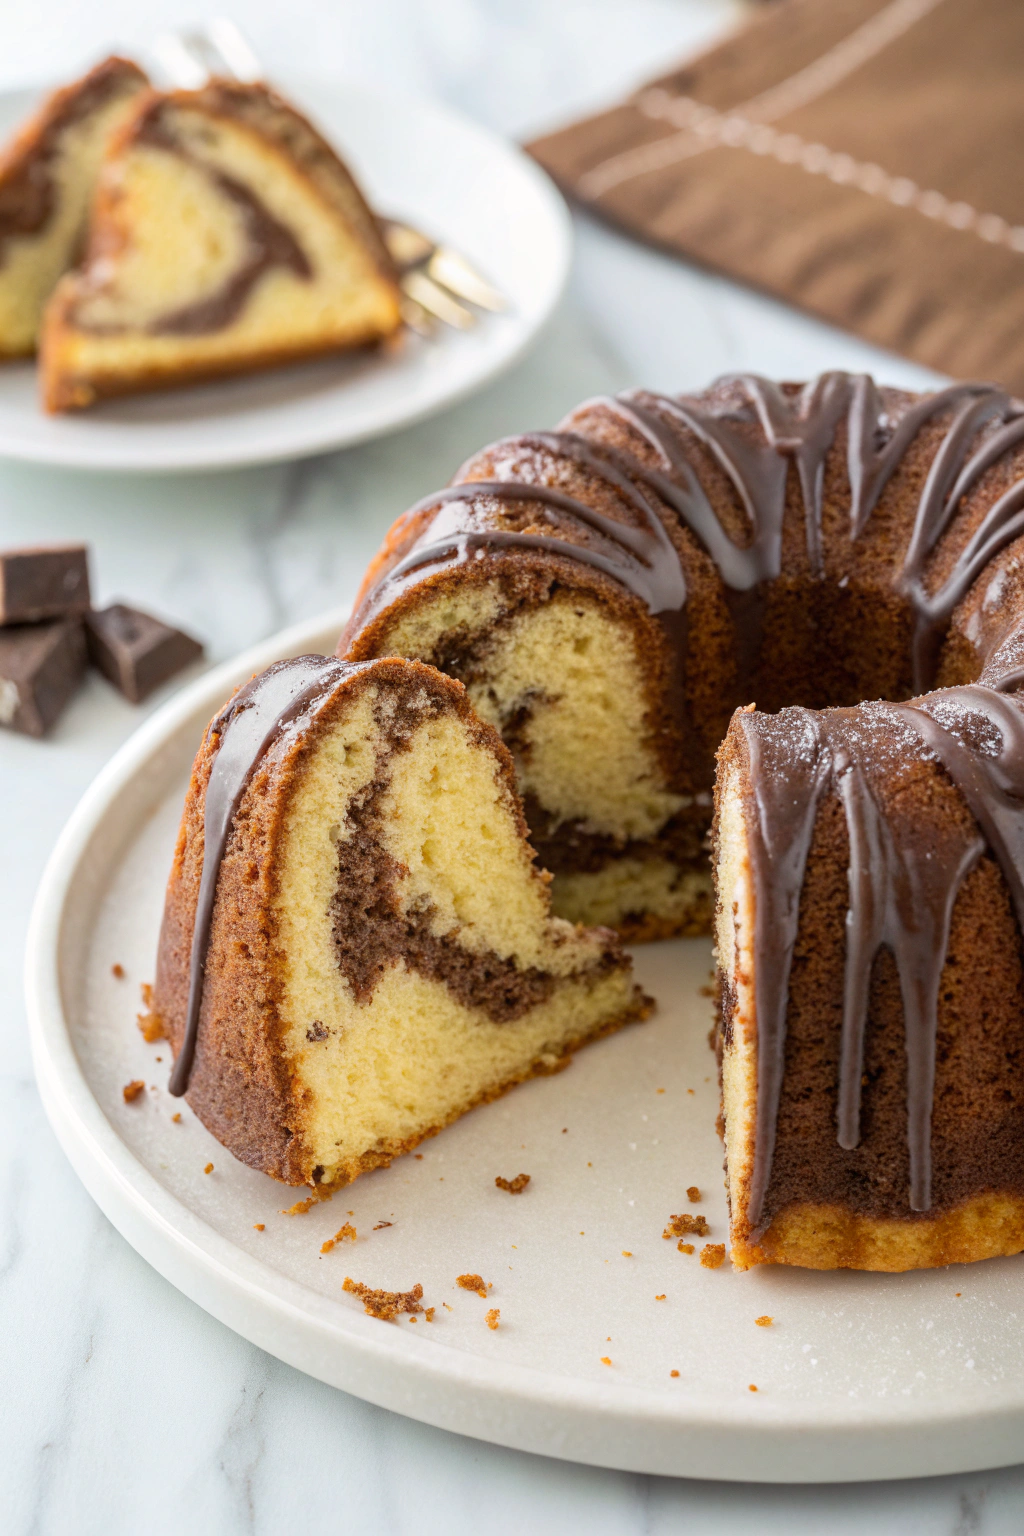
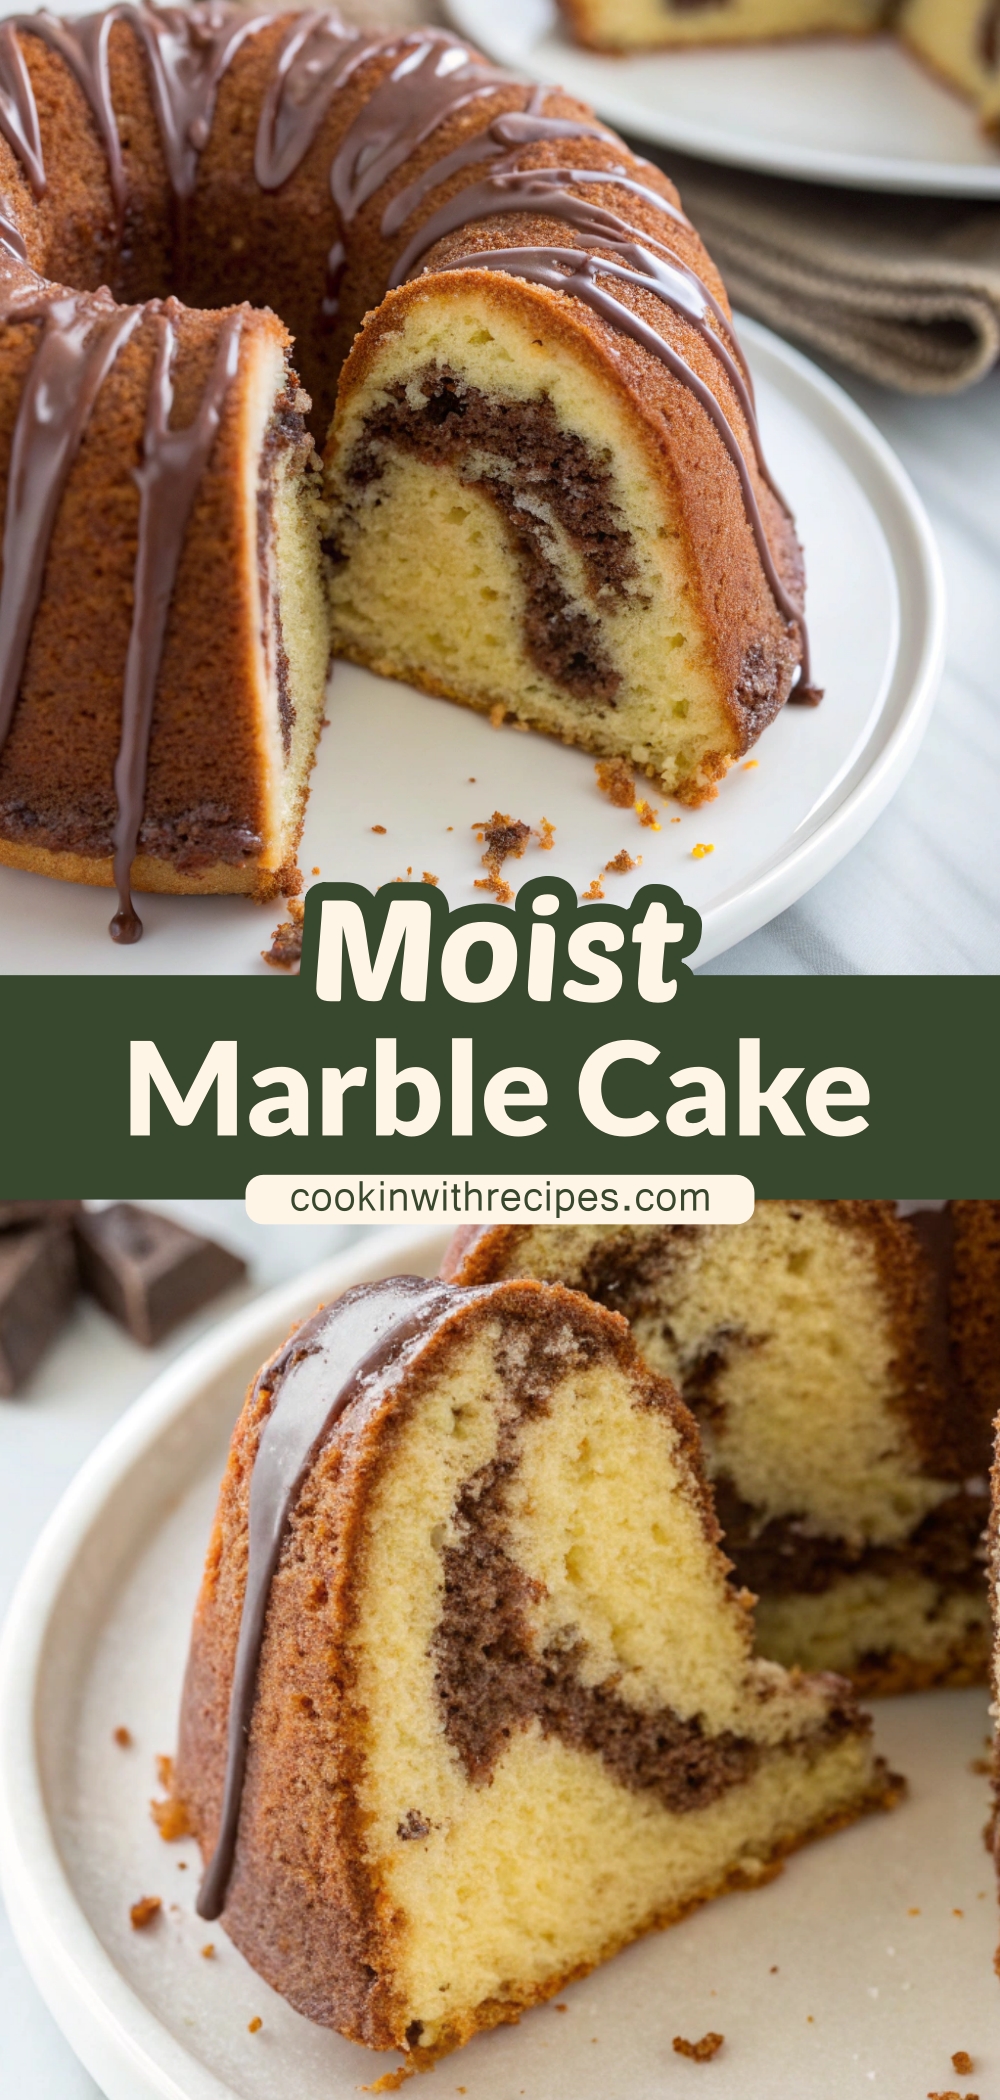
This Moist Marble Cake combines the best of two worlds—velvety vanilla cake swirled with deep chocolate ribbons, topped with a smooth milk chocolate glaze. It’s tender, moist, and baked in a bundt pan for a beautiful presentation that’s perfect for family gatherings or everyday indulgence.
Why You’ll Love This Recipe
-
A classic childhood favorite elevated with a balanced chocolate-to-vanilla ratio.
-
Incredibly moist texture thanks to the blend of sour cream and milk.
-
Easy to make, yet looks impressive enough for holidays, birthdays, and weekend treats.
-
Keeps well for days, making it great for make-ahead baking.
Moist Marble Cake
Marble cake is one of those timeless desserts that bridges the gap between simple comfort and elegant indulgence. Its swirls of chocolate and vanilla make every slice unique, both visually and in taste. This particular recipe focuses on enhancing moisture while keeping the structure light and tender.
The origins of marble cake trace back to 19th-century Germany, where bakers first experimented with blending dark and light batters. It quickly spread across Europe and eventually became a household staple in America. Families loved its dual flavors—especially children, who found joy in the surprise patterns hidden inside each slice.
Unlike plain cakes, marble cake offers variety in every bite. Some forkfuls bring rich cocoa, while others deliver pure vanilla sweetness, and the best bites combine both. That contrast makes it one of the most beloved cakes across generations.
Moisture is the cornerstone of a good marble cake. In this recipe, sour cream works as the secret ingredient, locking in tenderness and lending a slight tang that balances the sweetness. Milk complements it, ensuring a silky crumb.
Butter plays a key role in structure and flavor. Creamed properly, it aerates the batter, which helps the cake rise. Combined with sugar, it forms the foundation of a light and fluffy crumb. The method of beating the butter and sugar until pale and airy cannot be skipped—it’s the difference between a dense cake and one that feels cloud-like.
The swirl technique is where artistry comes in. Instead of overmixing the chocolate and vanilla batters, gentle swirling with a knife creates distinct streaks. Too much mixing results in a muddy appearance; too little leaves the batters separated. Finding the balance ensures both flavor and beauty.
One improvement this recipe brings is enhancing the chocolate portion. By making a quick cocoa paste with butter, sugar, and milk, the cocoa flavor deepens, preventing the chocolate from tasting dry or bitter. This creates a richer, fudgier ribbon inside the cake.
The glaze takes the cake from homemade to bakery-worthy. A combination of white chocolate and semisweet chocolate melted with hot cream creates a ganache that’s smooth, glossy, and balanced in sweetness. Unlike a heavy frosting, it drapes over the bundt cake like silk.
Marble cakes are often enjoyed plain, dusted with powdered sugar, or topped with glaze. Each approach has its charm. If you prefer a lighter finish, powdered sugar is enough. For celebratory occasions, the ganache adds that extra touch of indulgence.
This cake is particularly family-friendly. Children love the surprise of cutting into the cake and seeing the marbled patterns. It’s also a fun baking project for weekends, where kids can help swirl the batters and feel part of the process.
In many families, marble cake becomes a “memory cake.” It’s often served during Sunday gatherings, birthday parties, or holidays, carrying stories of togetherness. Each swirl is more than flavor—it represents shared moments around the table.
The recipe is forgiving yet precise in its steps. Once you understand the method—cream, alternate wet and dry, swirl—you can replicate it every time. It’s a cake that builds confidence in home baking while still rewarding experienced bakers with quality results.
Storing the cake is simple. At room temperature, it stays fresh for three days when stored in an airtight container. Its flavor even improves slightly by the second day as the chocolate and vanilla meld together.
You can also adapt the recipe for different pans. While a bundt pan creates an elegant presentation, it can also be baked in a loaf pan or as a layered round cake. Just adjust the baking time accordingly.
Ultimately, this Moist Marble Cake isn’t just about dessert. It’s about the joy of baking, the warmth of sharing, and the beauty of a cake that celebrates both simplicity and complexity in one bite.

Servings & Time
-
Servings: 12 slices
-
Prep Time: 25 minutes
-
Cook Time: 45 minutes
-
Cooling Time: 40 minutes
-
Total Time: 1 hour 50 minutes
Ingredients
For the Cake Batter:
-
1 cup (8 oz / 227g) unsalted butter, softened
-
1 ½ cups (10 ½ oz / 300g) granulated sugar
-
2 large eggs, room temperature
-
1 large egg yolk, room temperature
-
1 tablespoon pure vanilla extract
-
¾ cup (6.4 oz / 181g) sour cream, room temperature
-
¼ cup whole milk, room temperature
-
2 cups + 3 tbsp (7 ⅜ oz / 210g) all-purpose flour
-
¼ cup + 1 tbsp (1 ⅜ oz / 40g) cornstarch
-
2 ½ teaspoons baking powder
-
½ teaspoon baking soda
-
½ teaspoon salt
For the Chocolate Swirl:
-
¼ cup + 2 tbsp (30g) unsweetened cocoa powder
-
2 tbsp milk
-
1 tbsp unsalted butter
-
1 tbsp sugar
-
⅛ teaspoon baking soda
For the Ganache Glaze:
-
2.7 oz (77g) white chocolate, chopped
-
1.4 oz (40g) semisweet chocolate, chopped
-
⅓ cup (77g) hot heavy cream
Instructions
-
Preheat oven to 350°F (180°C). Grease and flour a 10-cup bundt pan.
-
In a medium bowl, sift together flour, cornstarch, baking powder, baking soda, and salt. Set aside.
-
In a small bowl, whisk sour cream with milk until smooth.
-
In a large mixing bowl, beat softened butter until creamy, 2–3 minutes.
-
Gradually add sugar, beating until pale and fluffy, about 4–5 minutes.
-
Beat in eggs one at a time, then add yolk. Stir in vanilla extract.
-
On low speed, add one-third of the flour mixture. Mix briefly.
-
Add half of the sour cream mixture. Mix gently.
-
Repeat with another third of flour, remaining sour cream mixture, and finish with last third of flour. Do not overmix.
-
Scoop out 1 ½ cups of batter and set aside.
-
For chocolate swirl: In a small bowl, heat milk, butter, and sugar until melted. Stir in cocoa powder and baking soda until smooth. Mix with reserved batter.
-
Pour vanilla batter into bundt pan. Create a trench and spoon chocolate batter inside. Swirl gently with a knife.
-
Bake 40–50 minutes, until a toothpick comes out clean with moist crumbs.
-
Cool 20 minutes in the pan before inverting onto a wire rack. Let cool completely.
-
For ganache: Melt chocolates in the microwave, stirring every 15 seconds until smooth. Stir in hot cream until glossy.
-
Allow ganache to thicken slightly, then drizzle over cooled cake.
Tips
-
Use room-temperature ingredients for even mixing.
-
Don’t over-swirl the batters; a few knife motions are enough.
-
To test doneness, insert a skewer in the center—look for moist crumbs, not wet batter.
-
For a lighter option, skip the ganache and dust with powdered sugar.

Moist Marble Cake
Ingredients
For the Cake Batter:
- 1 cup 8 oz / 227g unsalted butter, softened
- 1 ½ cups 10 ½ oz / 300g granulated sugar
- 2 large eggs room temperature
- 1 large egg yolk room temperature
- 1 tablespoon pure vanilla extract
- ¾ cup 6.4 oz / 181g sour cream, room temperature
- ¼ cup whole milk room temperature
- 2 cups + 3 tbsp 7 ⅜ oz / 210g all-purpose flour
- ¼ cup + 1 tbsp 1 ⅜ oz / 40g cornstarch
- 2 ½ teaspoons baking powder
- ½ teaspoon baking soda
- ½ teaspoon salt
For the Chocolate Swirl:
- ¼ cup + 2 tbsp 30g unsweetened cocoa powder
- 2 tbsp milk
- 1 tbsp unsalted butter
- 1 tbsp sugar
- ⅛ teaspoon baking soda
For the Ganache Glaze:
- 2.7 oz 77g white chocolate, chopped
- 1.4 oz 40g semisweet chocolate, chopped
- ⅓ cup 77g hot heavy cream
Instructions
- Preheat oven to 350°F (180°C). Grease and flour a 10-cup bundt pan.
- In a medium bowl, sift together flour, cornstarch, baking powder, baking soda, and salt. Set aside.
- In a small bowl, whisk sour cream with milk until smooth.
- In a large mixing bowl, beat softened butter until creamy, 2–3 minutes.
- Gradually add sugar, beating until pale and fluffy, about 4–5 minutes.
- Beat in eggs one at a time, then add yolk. Stir in vanilla extract.
- On low speed, add one-third of the flour mixture. Mix briefly.
- Add half of the sour cream mixture. Mix gently.
- Repeat with another third of flour, remaining sour cream mixture, and finish with last third of flour. Do not overmix.
- Scoop out 1 ½ cups of batter and set aside.
- For chocolate swirl: In a small bowl, heat milk, butter, and sugar until melted. Stir in cocoa powder and baking soda until smooth. Mix with reserved batter.
- Pour vanilla batter into bundt pan. Create a trench and spoon chocolate batter inside. Swirl gently with a knife.
- Bake 40–50 minutes, until a toothpick comes out clean with moist crumbs.
- Cool 20 minutes in the pan before inverting onto a wire rack. Let cool completely.
- For ganache: Melt chocolates in the microwave, stirring every 15 seconds until smooth. Stir in hot cream until glossy.
- Allow ganache to thicken slightly, then drizzle over cooled cake.
Notes
- Use room-temperature ingredients for even mixing.
- Don’t over-swirl the batters; a few knife motions are enough.
- To test doneness, insert a skewer in the center—look for moist crumbs, not wet batter.
- For a lighter option, skip the ganache and dust with powdered sugar.

