Few desserts are as iconic or visually stunning as red velvet cake, and when it’s combined with a layer of rich, creamy cheesecake, you get something truly spectacular. This Red Velvet Cheesecake Cake is the ultimate showstopper — elegant, decadent, and undeniably delicious. It’s a cake that turns heads at any gathering and leaves people talking long after the last slice is gone.
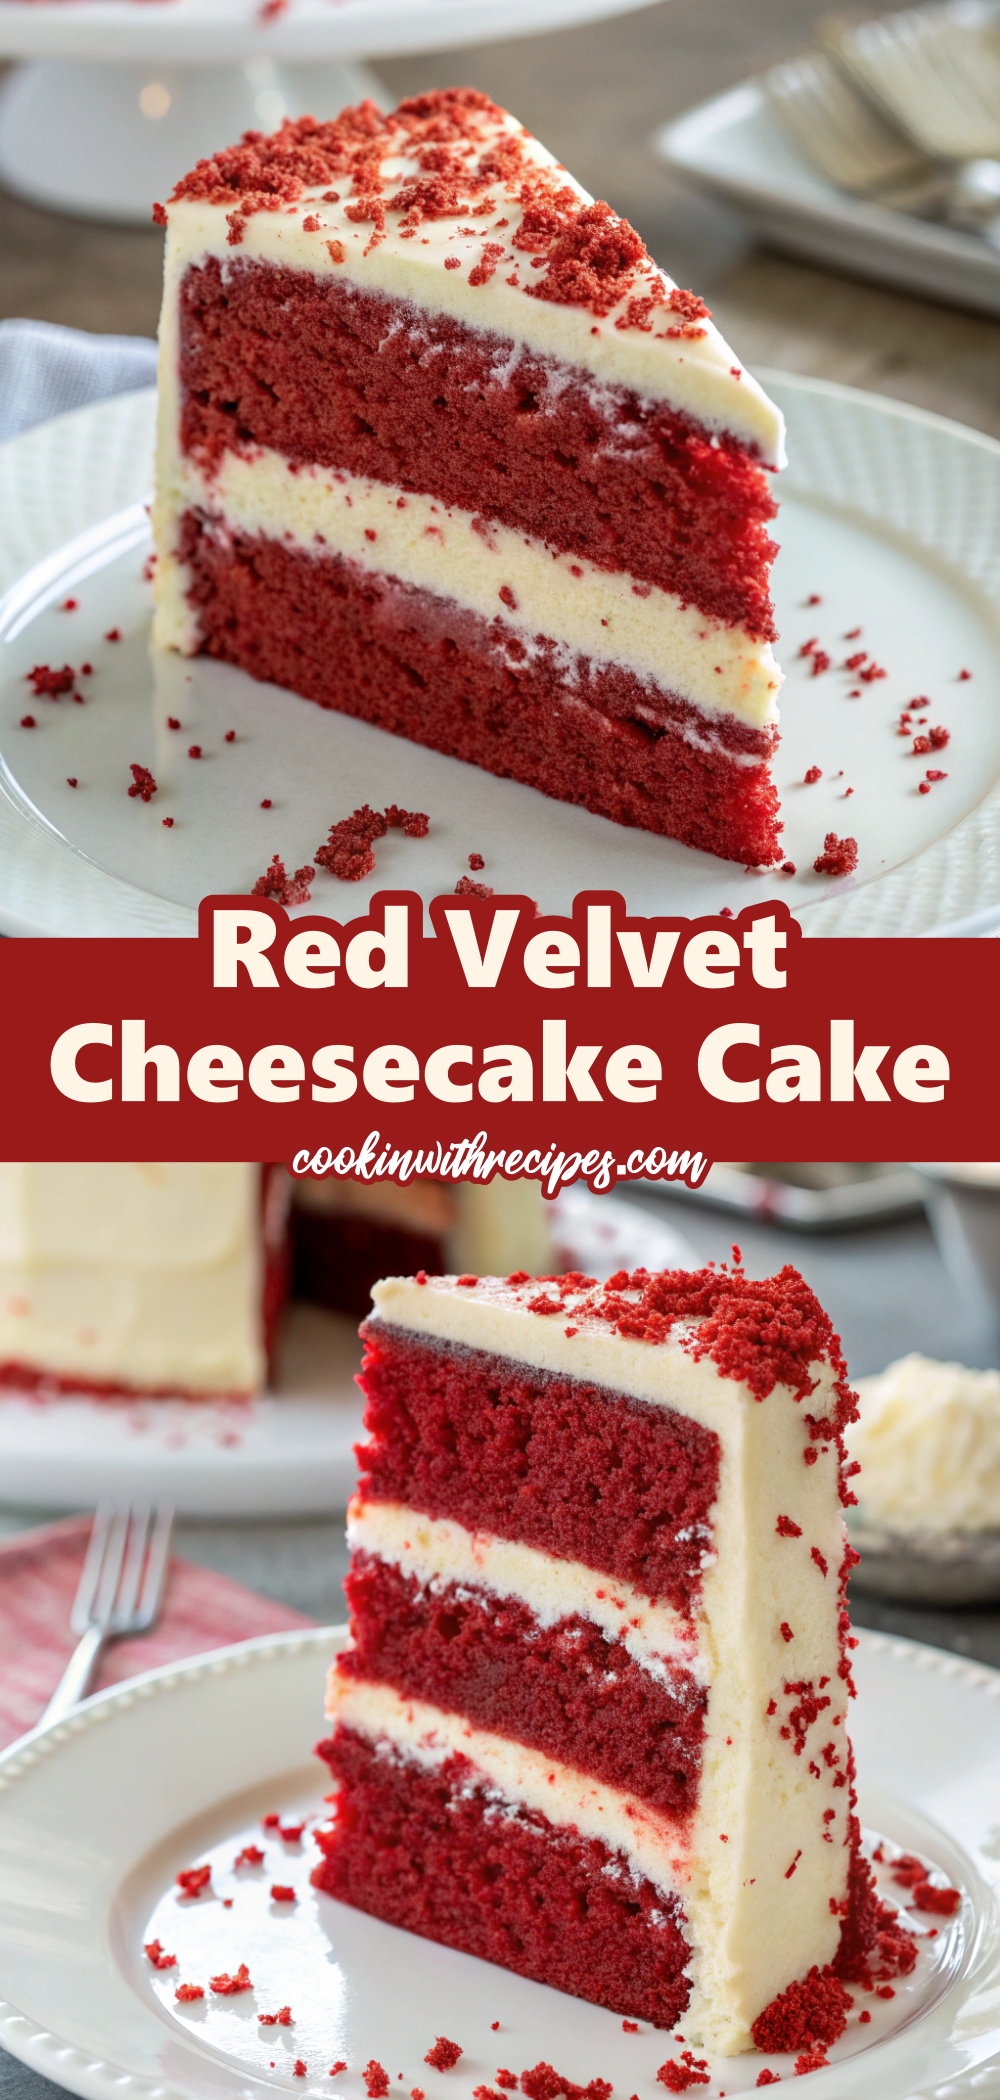
The magic of this dessert lies in the contrast of textures and flavors. The red velvet cake layers are soft and tender, with a subtle cocoa flavor and a beautiful scarlet hue. Sandwiched between them is a thick, velvety cheesecake that adds a luxurious creaminess. Together, they create a balance of tanginess, sweetness, and richness that’s simply irresistible.
Red velvet itself has a storied history, often associated with the American South and celebrated for its distinctive color and flavor. Its slight tang and soft crumb are part of what makes it so beloved. By pairing it with a cheesecake center, this recipe elevates the traditional red velvet experience to new heights.
This cake is especially popular during holidays and special events. Whether it’s Valentine’s Day, Christmas, or a birthday, its vibrant red color and indulgent taste make it a perfect centerpiece. But it’s also surprisingly doable as a weekend baking project for anyone who wants to impress their friends or family.
One of the best parts about this dessert is its versatility. You can prepare it in stages, baking the cheesecake a day ahead, then layering and frosting the next. The result is a bakery-quality dessert made right in your kitchen. And unlike some fancy cakes, this one doesn’t require elaborate decorating skills to look impressive.
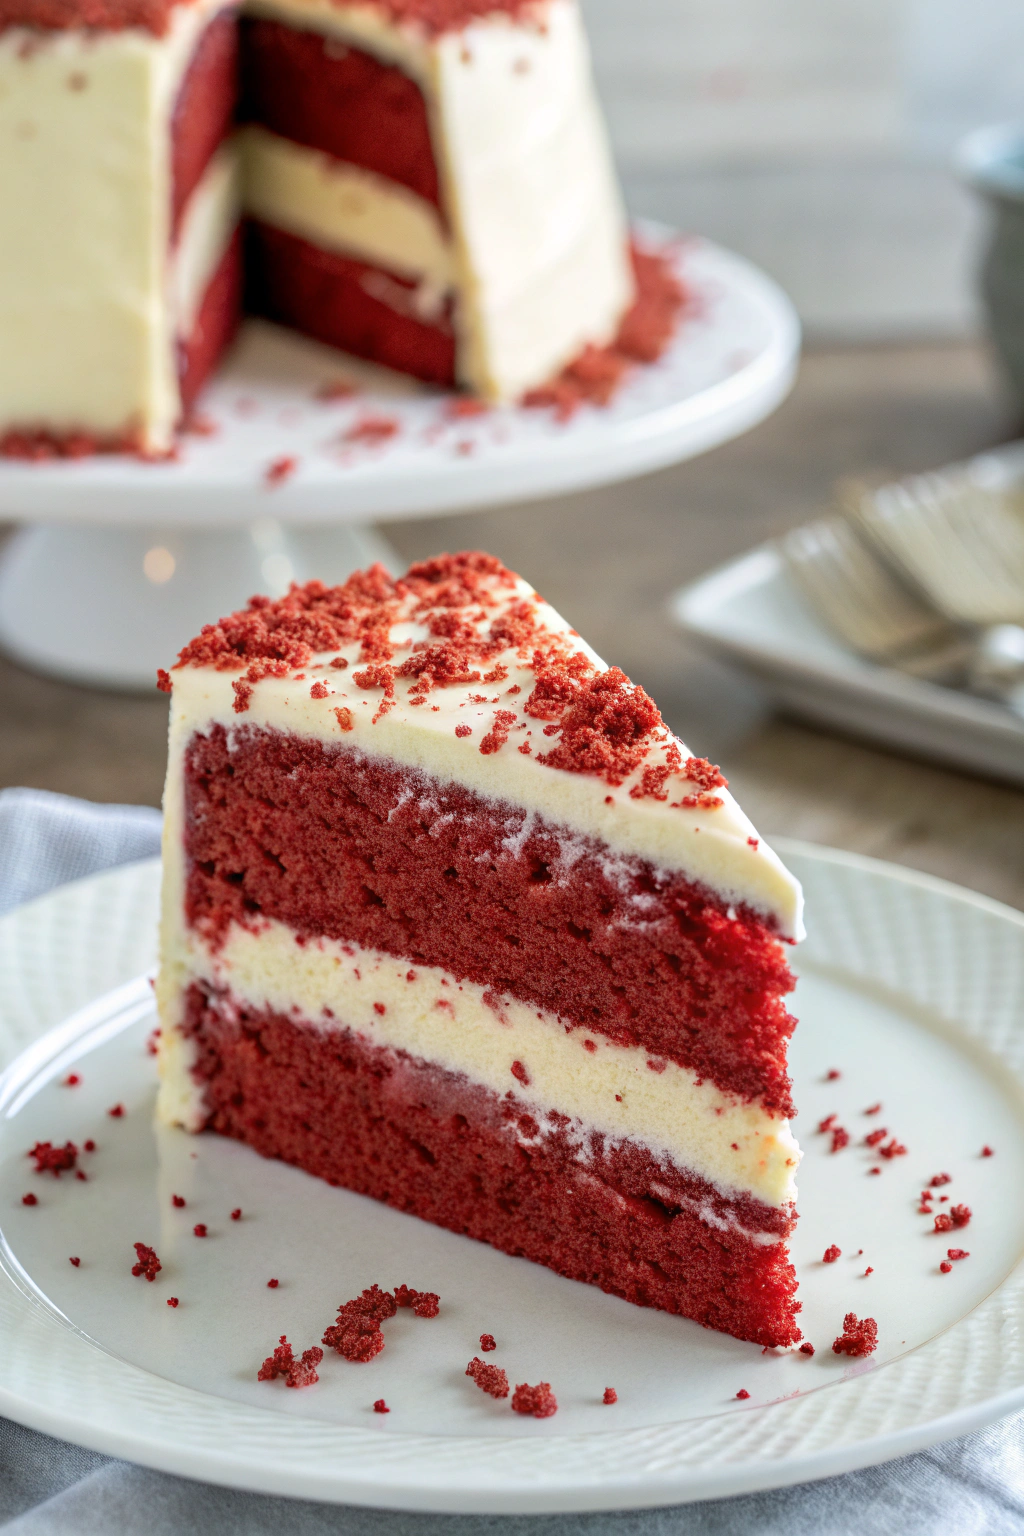
Frosted with a classic cream cheese icing, the cake is rich but not overwhelming. The tanginess of the frosting complements both the red velvet layers and the cheesecake, tying everything together in perfect harmony. For added flair, a sprinkling of red velvet crumbs or white chocolate shavings on top can give it a polished finish.
The slicing moment is where the real magic happens. As you cut into the cake, the red velvet layers and cheesecake reveal themselves in perfect contrast. It’s not just a dessert — it’s an experience. And that experience is one that never disappoints.
This is also a great recipe for making ahead. The flavors meld beautifully overnight, and the cheesecake helps the cake retain its moisture. It travels well, slices neatly, and stores beautifully in the fridge, making it a smart choice for gatherings or potlucks.
So, whether you’re a red velvet enthusiast or just someone who loves the idea of cheesecake in any form, this Red Velvet Cheesecake Cake is bound to become a favorite. One bite is all it takes to understand why it’s one of the most requested and beloved cakes around.
Servings
12-14 slices
Time
- Prep Time: 30 minutes
- Cook Time: 1 hour 15 minutes
- Chill Time: 4 hours (minimum)
- Total Time: About 6 hours (including chilling)
Ingredients
For the Cheesecake Layer:
- 2 (8 oz) packages cream cheese, softened
- 1/2 cup granulated sugar
- 2 large eggs
- 1/3 cup sour cream
- 1 tsp vanilla extract
For the Red Velvet Cake Layers:
- 2 1/2 cups all-purpose flour
- 1 1/2 cups granulated sugar
- 1 tsp baking soda
- 1 tsp salt
- 1 tsp cocoa powder
- 1 1/2 cups vegetable oil
- 1 cup buttermilk, room temperature
- 2 large eggs
- 2 tbsp red food coloring
- 1 tsp vanilla extract
- 1 tsp white vinegar
For the Cream Cheese Frosting:
- 1 (8 oz) package cream cheese, softened
- 1/2 cup unsalted butter, softened
- 3 1/2 cups powdered sugar
- 1 tsp vanilla extract
Instructions
Make the Cheesecake Layer:
- Preheat oven to 325°F (163°C). Line the bottom of a 9-inch springform pan with parchment paper and lightly grease the sides.
- In a large bowl, beat cream cheese and sugar until smooth.
- Add eggs one at a time, beating well after each.
- Mix in sour cream and vanilla until just combined.
- Pour batter into the pan and bake for 40-45 minutes, or until the center is set.
- Remove from oven, cool completely, then freeze for at least 2 hours for easier assembly.
Make the Red Velvet Cake:
- Preheat oven to 350°F (177°C). Grease and flour two 9-inch round cake pans.
- In a large bowl, whisk together flour, sugar, baking soda, salt, and cocoa powder.
- In another bowl, whisk together oil, buttermilk, eggs, food coloring, vanilla, and vinegar.
- Gradually add wet ingredients to the dry, mixing until smooth.
- Divide batter evenly between pans and bake for 30-35 minutes, or until a toothpick comes out clean.
- Cool cakes in pans for 10 minutes, then transfer to wire racks to cool completely.
Make the Frosting:
- Beat cream cheese and butter until smooth.
- Gradually add powdered sugar, beating until fluffy.
- Mix in vanilla extract.
Assemble the Cake:
- Place one red velvet layer on a cake plate.
- Remove cheesecake from the freezer and carefully place it on top of the cake layer.
- Add the second red velvet cake layer on top of the cheesecake.
- Frost the entire cake with cream cheese frosting.
- Decorate with red velvet crumbs or white chocolate shavings if desired.
- Chill until ready to serve.
Tips for Success
- Freeze the cheesecake layer to make it easier to stack between the cake layers.
- Use a serrated knife to level the cake layers if needed.
- Make ahead — this cake tastes even better after chilling overnight.
- Use room temperature ingredients for smoother batters and better texture.
- Store leftovers in the fridge, covered, for up to 5 days.
Summary
This Red Velvet Cheesecake Cake is the ultimate layered dessert: rich, velvety red cake sandwiching a creamy cheesecake center, all wrapped in tangy cream cheese frosting. Perfect for holidays, birthdays, or any occasion that calls for a truly memorable dessert.
Red Velvet Cheesecake Cake Recipe
Instructions
For the Cheesecake Layer:
- 2 (8 oz) packages cream cheese, softened
- 1/2 cup granulated sugar
- 2 large eggs
- 1/3 cup sour cream
- 1 tsp vanilla extract
For the Red Velvet Cake Layers:
- 2 1/2 cups all-purpose flour
- 1 1/2 cups granulated sugar
- 1 tsp baking soda
- 1 tsp salt
- 1 tsp cocoa powder
- 1 1/2 cups vegetable oil
- 1 cup buttermilk, room temperature
- 2 large eggs
- 2 tbsp red food coloring
- 1 tsp vanilla extract
- 1 tsp white vinegar
For the Cream Cheese Frosting:
- 1 (8 oz) package cream cheese, softened
- 1/2 cup unsalted butter, softened
- 3 1/2 cups powdered sugar
- 1 tsp vanilla extract
Make the Cheesecake Layer:
- Preheat oven to 325°F (163°C). Line the bottom of a 9-inch springform pan with parchment paper and lightly grease the sides.
- In a large bowl, beat cream cheese and sugar until smooth.
- Add eggs one at a time, beating well after each.
- Mix in sour cream and vanilla until just combined.
- Pour batter into the pan and bake for 40-45 minutes, or until the center is set.
- Remove from oven, cool completely, then freeze for at least 2 hours for easier assembly.
Make the Red Velvet Cake:
- Preheat oven to 350°F (177°C). Grease and flour two 9-inch round cake pans.
- In a large bowl, whisk together flour, sugar, baking soda, salt, and cocoa powder.
- In another bowl, whisk together oil, buttermilk, eggs, food coloring, vanilla, and vinegar.
- Gradually add wet ingredients to the dry, mixing until smooth.
- Divide batter evenly between pans and bake for 30-35 minutes, or until a toothpick comes out clean.
- Cool cakes in pans for 10 minutes, then transfer to wire racks to cool completely.
Make the Frosting:
- Beat cream cheese and butter until smooth.
- Gradually add powdered sugar, beating until fluffy.
- Mix in vanilla extract.
Assemble the Cake:
- Place one red velvet layer on a cake plate.
- Remove cheesecake from the freezer and carefully place it on top of the cake layer.
- Add the second red velvet cake layer on top of the cheesecake.
- Frost the entire cake with cream cheese frosting.
- Decorate with red velvet crumbs or white chocolate shavings if desired.
- Chill until ready to serve.
Notes
- Freeze the cheesecake layer to make it easier to stack between the cake layers.
- Use a serrated knife to level the cake layers if needed.
- Make ahead — this cake tastes even better after chilling overnight.
- Use room temperature ingredients for smoother batters and better texture.
- Store leftovers in the fridge, covered, for up to 5 days.