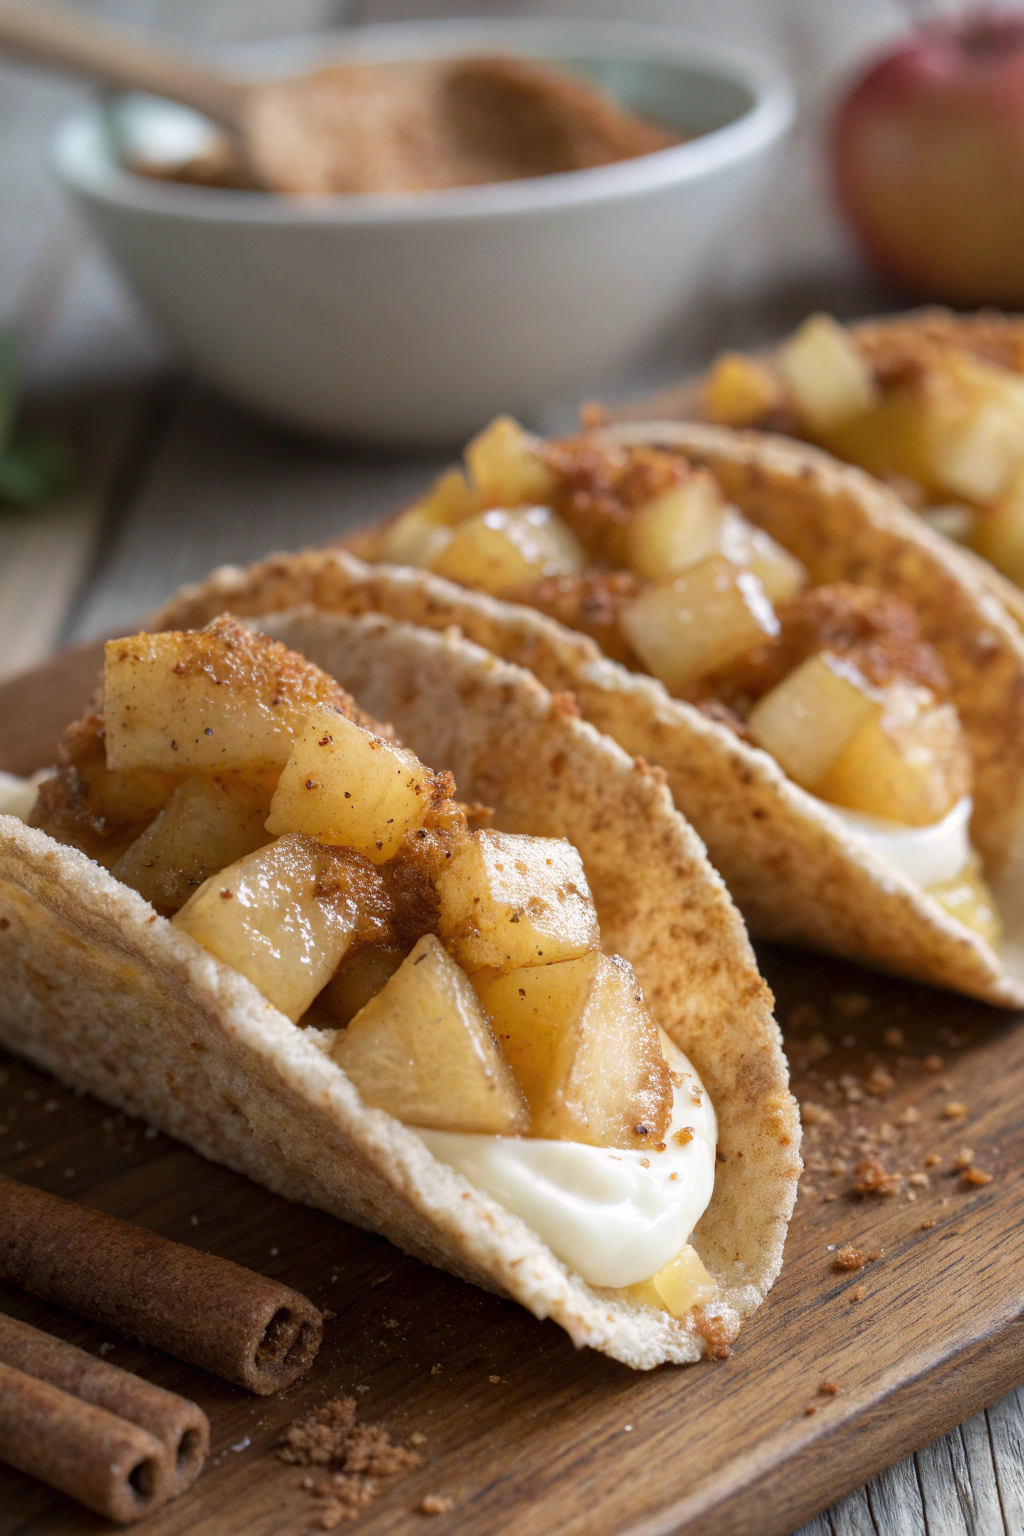
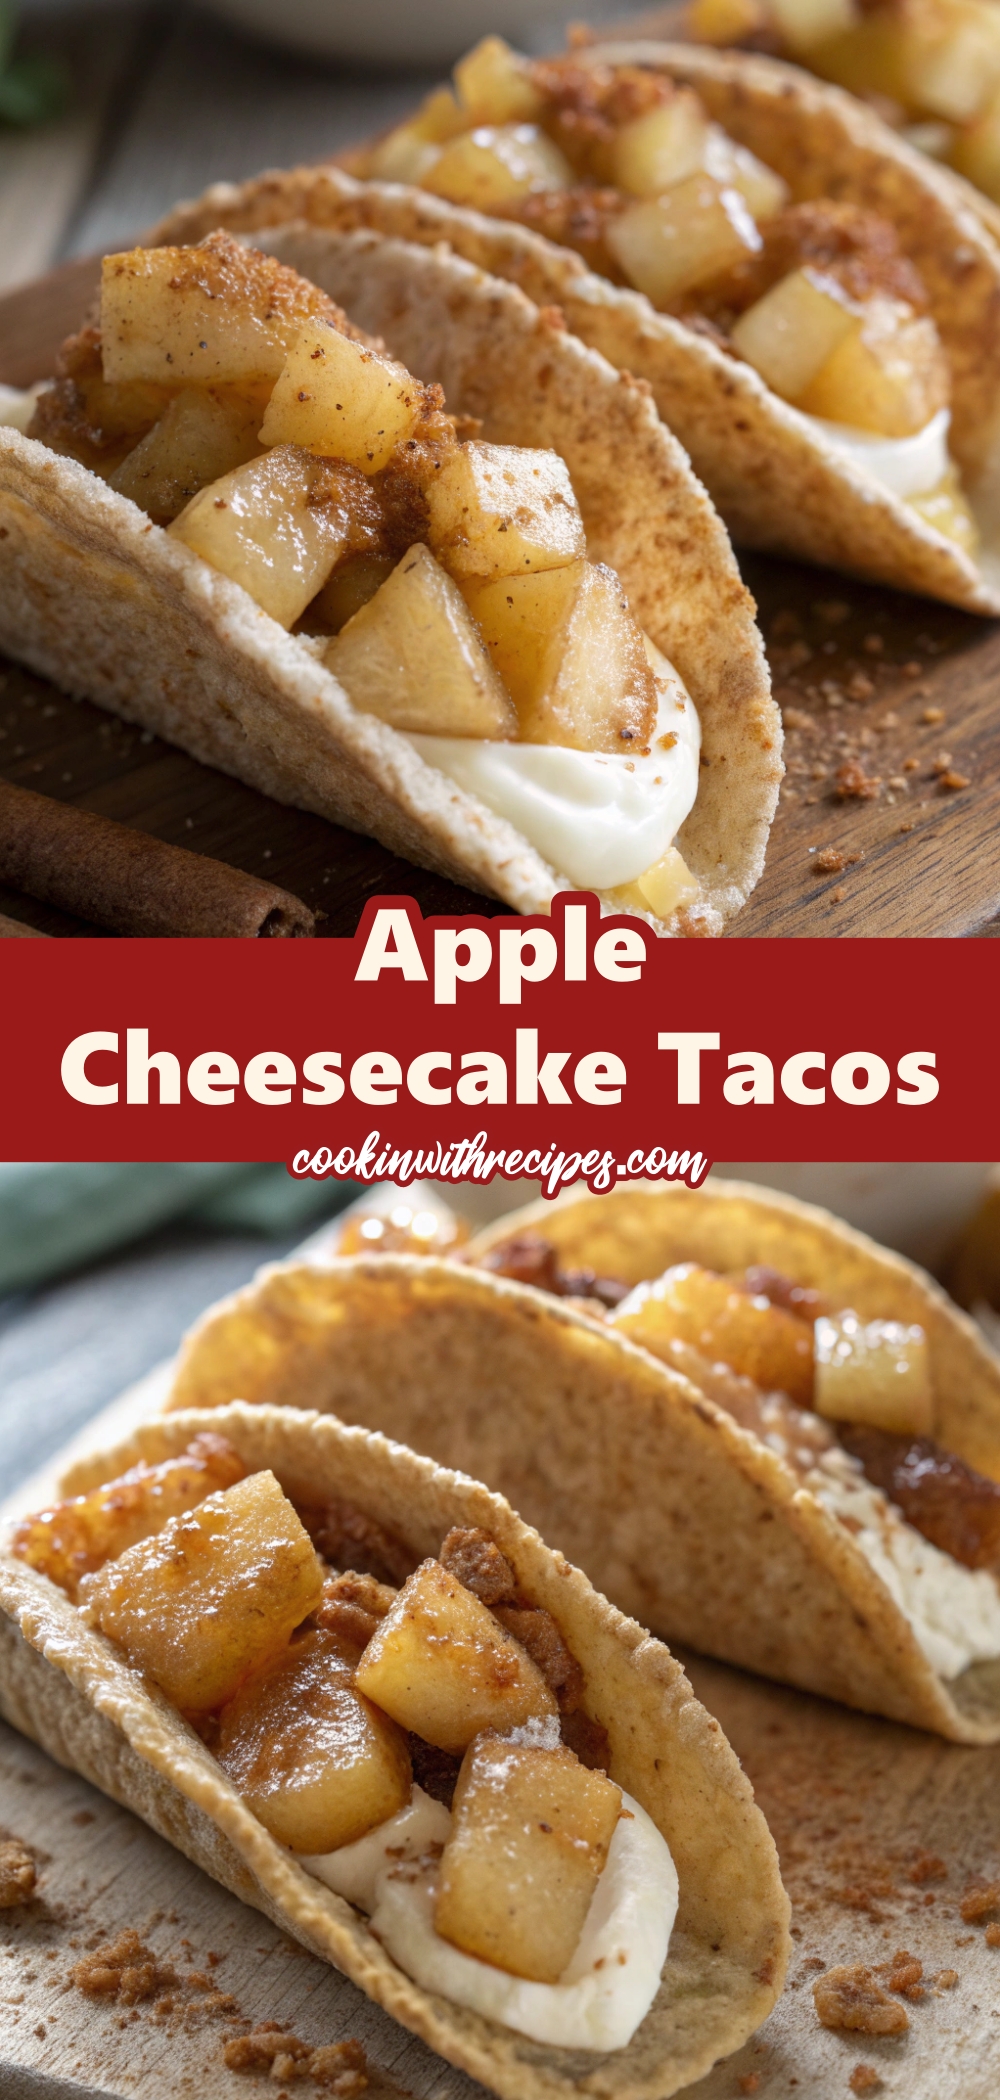
If you’re looking for a creative and absolutely delightful dessert that will wow your family and friends, then you need to try our Delicious Apple Cheesecake Tacos recipe. Combining the cozy flavors of apple pie with the creamy richness of cheesecake, all wrapped up in a crispy taco shell, this dessert is pure fun and flavor in every bite.
Dessert tacos have gained popularity for their whimsical presentation and the endless possibilities they offer for delicious fillings. In this version, we bring together the warm spiced apples and the smooth, tangy cheesecake filling in a crunchy, cinnamon-sugar-coated taco shell, creating a beautiful contrast of textures and flavors that will have everyone reaching for seconds.
This dessert is perfect for holidays, birthday parties, family gatherings, or just a weekend treat. It’s surprisingly easy to make and will certainly leave a lasting impression on anyone who tries it. Plus, with no alcohol or pork-based ingredients, these Apple Cheesecake Tacos are suitable for a wider variety of dietary needs and preferences.
The beauty of these tacos lies in their versatility. You can make the shells ahead of time, prepare the filling in advance, and assemble them just before serving to keep everything fresh and crisp. They’re the kind of dessert that looks intricate but is actually quite straightforward, making you look like a baking superstar without all the stress.
Imagine biting into a sweet, crunchy taco shell, giving way to creamy cheesecake and tender cinnamon-spiced apples. It’s a handheld dessert that delivers a cozy, comforting taste experience while also being playful and unexpected. Kids and adults alike will absolutely love them.
These Apple Cheesecake Tacos also offer a wonderful way to celebrate the flavors of fall, but they’re delicious year-round. You can even adapt the recipe with different fruits like pears or berries for a seasonal twist.
Get ready to fill your kitchen with the irresistible scent of cinnamon, apples, and sweet pastry. This recipe is about to become a new favorite in your dessert repertoire. Let’s dive into the details so you can make these charming and delectable Apple Cheesecake Tacos yourself!

Servings Makes about 12 tacos
Time
Prep Time: 25 minutes
Cook Time: 15 minutes
Assembling Time: 10 minutes
Total Time: 50 minutes
Ingredients
For the Taco Shells:
- 12 small flour tortillas
- 1/2 cup granulated sugar
- 1 tablespoon ground cinnamon
- 1/2 cup unsalted butter, melted
For the Cheesecake Filling:
- 8 oz cream cheese, softened
- 1/4 cup powdered sugar
- 1 teaspoon vanilla extract
- 1/2 cup heavy cream
For the Apple Filling:
- 2 large apples, peeled and diced
- 2 tablespoons unsalted butter
- 2 tablespoons brown sugar
- 1 teaspoon ground cinnamon
- 1/4 teaspoon ground nutmeg
- 1 teaspoon cornstarch mixed with 1 tablespoon water (optional, for thickening)
Instructions
- Preheat oven to 400°F (200°C).
- Brush both sides of each tortilla with melted butter.
- Mix sugar and cinnamon together in a shallow dish.
- Dredge the buttered tortillas in the cinnamon sugar mixture.
- Drape tortillas over the bars of an oven rack to create a taco shape.
- Bake for 8-10 minutes until golden and crispy. Carefully remove and let cool.
- For the cheesecake filling, beat cream cheese, powdered sugar, and vanilla extract together until smooth.
- In a separate bowl, whip the heavy cream to stiff peaks.
- Gently fold the whipped cream into the cream cheese mixture. Refrigerate until ready to use.
- For the apple filling, melt butter in a skillet over medium heat.
- Add diced apples, brown sugar, cinnamon, and nutmeg.
- Cook until apples are tender, about 5 minutes. If you prefer a thicker filling, add the cornstarch slurry and cook for another minute.
- Let the apple filling cool slightly.
- To assemble, pipe or spoon cheesecake filling into each taco shell.
- Top with a generous spoonful of apple filling.
- Serve immediately for the best texture.
Tips
- Let the taco shells cool completely before filling to maintain crispness.
- Use firm apples like Granny Smith for the best texture.
- Prepare components ahead and assemble just before serving.
- Customize with toppings like caramel drizzle, chopped nuts, or a sprinkle of powdered sugar.
- Store unfilled shells in an airtight container to keep them crispy.
Why You Will Love This Recipe
These Apple Cheesecake Tacos are a perfect combination of creamy, crunchy, and fruity goodness. They’re easy to make, fun to eat, and perfect for impressing guests or indulging yourself with a delightful sweet treat.
Summary Our Delicious Apple Cheesecake Tacos recipe offers a fun, creative, and mouthwatering dessert that’s perfect for any gathering. With a cinnamon-sugar shell, luscious cheesecake filling, and warm spiced apples, every bite is an unforgettable treat.
Delicious Apple Cheesecake Tacos
Ingredients
For the Taco Shells:
- 12 small flour tortillas
- 1/2 cup granulated sugar
- 1 tablespoon ground cinnamon
- 1/2 cup unsalted butter melted
For the Cheesecake Filling:
- 8 oz cream cheese softened
- 1/4 cup powdered sugar
- 1 teaspoon vanilla extract
- 1/2 cup heavy cream
For the Apple Filling:
- 2 large apples peeled and diced
- 2 tablespoons unsalted butter
- 2 tablespoons brown sugar
- 1 teaspoon ground cinnamon
- 1/4 teaspoon ground nutmeg
- 1 teaspoon cornstarch mixed with 1 tablespoon water optional, for thickening
Instructions
- Preheat oven to 400°F (200°C).
- Brush both sides of each tortilla with melted butter.
- Mix sugar and cinnamon together in a shallow dish.
- Dredge the buttered tortillas in the cinnamon sugar mixture.
- Drape tortillas over the bars of an oven rack to create a taco shape.
- Bake for 8-10 minutes until golden and crispy. Carefully remove and let cool.
- For the cheesecake filling, beat cream cheese, powdered sugar, and vanilla extract together until smooth.
- In a separate bowl, whip the heavy cream to stiff peaks.
- Gently fold the whipped cream into the cream cheese mixture. Refrigerate until ready to use.
- For the apple filling, melt butter in a skillet over medium heat.
- Add diced apples, brown sugar, cinnamon, and nutmeg.
- Cook until apples are tender, about 5 minutes. If you prefer a thicker filling, add the cornstarch slurry and cook for another minute.
- Let the apple filling cool slightly.
- To assemble, pipe or spoon cheesecake filling into each taco shell.
- Top with a generous spoonful of apple filling.
- Serve immediately for the best texture.
Notes
- Let the taco shells cool completely before filling to maintain crispness.
- Use firm apples like Granny Smith for the best texture.
- Prepare components ahead and assemble just before serving.
- Customize with toppings like caramel drizzle, chopped nuts, or a sprinkle of powdered sugar.
- Store unfilled shells in an airtight container to keep them crispy.

